 |
|
||||
| |
|||||
 |
|
PC eGuardian User Guide Firstly, if you get stuck - don't panic! This application comes with free email support, which you can get by clicking here. 1. Getting Started a. Running PC eGuardian for the first time To start PC eGuardian, simply click on the "PC eGuardian" shortcut as shown in the top right hand corner of the screenshot below. 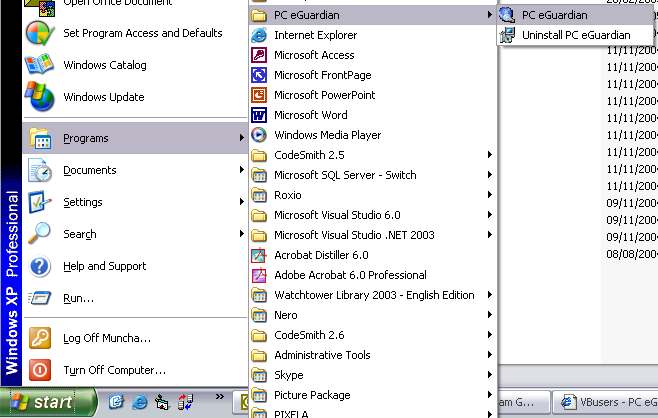 When you run PC eGuardian for the first time you will see a screen, similiar to the one below, prompting you to enter a password. You must do this to prevent other people viewing this application. 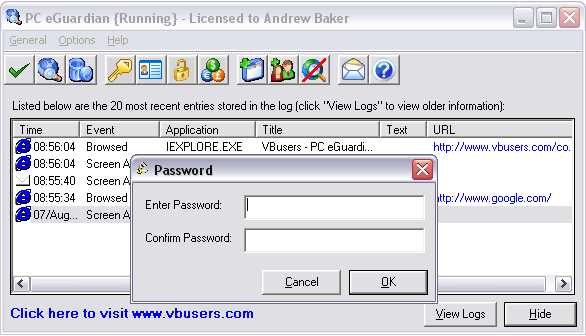 Enter the password you want to use twice, then click "Update". That's it, your done! PC eGuardian is now logging everything that's happening on your PC (to view these logs click the "View Logs" button and open the log file) The next time you restart your computer PC eGuardian will automatically start running in the background. To view it just start PC eGuardian (from the windows "Start" > "Programs" menu) and then enter the password you typed earlier... b. Registering PC eGuardian Once you have placed your online order, you should receive a confirmation email within 48 hrs telling you that your online licenses have been created for you. This email will also contain you "Order ID". To unlock PC eGuardian, click on the "General" menu followed by the "Register Online" menu, as shown below: 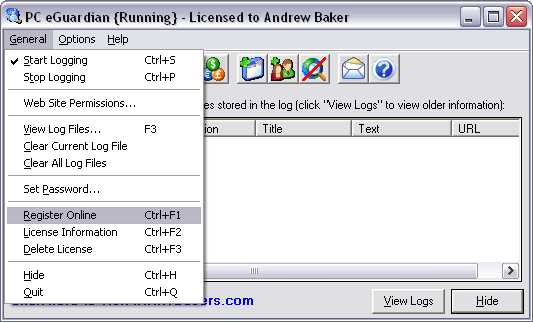 Next select the "Online Registeration" option and click the Next button. You will then be asked to enter your "Email Address" (use the email address that you gave when purchasing PC eGuardian) and your "Order ID", see below for a screenshot. 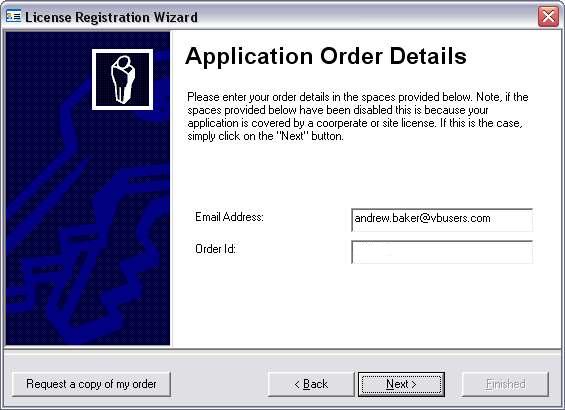 Once you have successfully completed this form you will see the message below and the application is now unlocked. 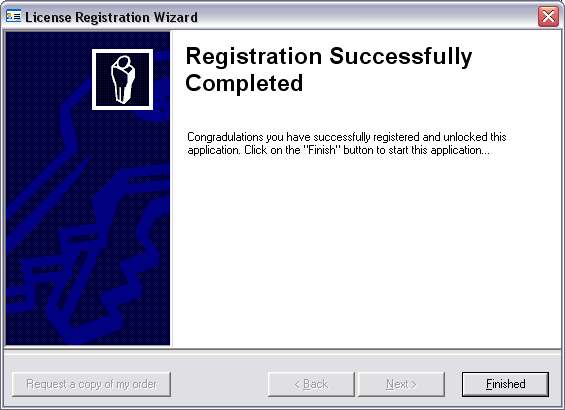 Note, if your trial period has expired PC eGuardian will NOT LOG any information until you have completed this registration process. 2. Using PC eGuardian a. Viewing/Configuring PC eGuardian logs Once you have started PC eGuardian you should notice that it is recording everything you do on the computer. It will record what you type, what you look at and when you did it, see below: 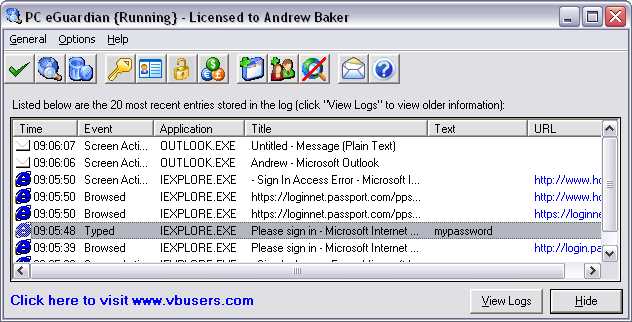 The screen above will only record the last 10 things that you have done. If you wish historical information you must view the log files. To do this simple click the "View Logs" button (as shown in the previous screen shot) and you will see the following: 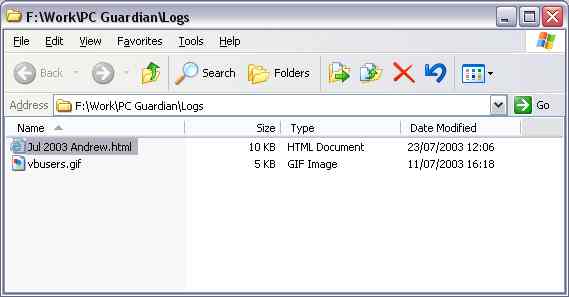 Next, just double click on the log file you are interested in and you will be able to see all the recorded information. To change the folder where the log files are stored, simply click on the "Options" > "Logging Options" menu. You will now see the screen below.  To change the folder simply type the new folder name in the "Log Path" text box, or click on the "..." button and browse to the directory that you want to store the log files in. Note, if you set the "Log Path" to a folder on another computer, this computer must remain switched on in order for PC eGuardian to be able to store the log files on it. b. User Filtering If your computer requires you to login before using it, then you will find this feature extremely useful. PC eGuardain allows you to specify which users are recorded in the logs. This means that you can prevent your information from appearing in the log and more specifically record inviduals who are of interest to you. To add a filtered user click on the "User Filtering..." menu option, as shown below 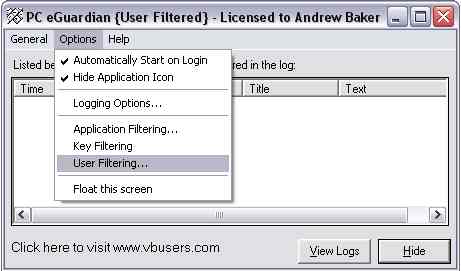 You will now see the following screen: 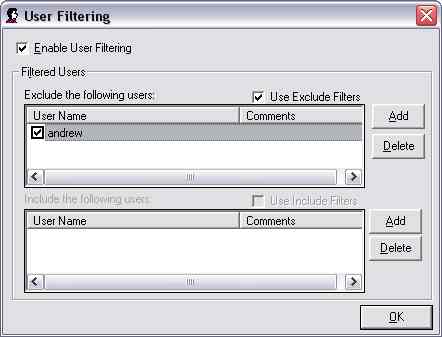 Check the "Enable User Filtering" check box and use the "Add" and "Delete" buttons to specify which users are to be filtered. Once you have finished press OK. If you have excluded yourself from logging then you will notice that the PC eGuardian gives you the following warning when you click on the "General" > "Start Logging" menu: 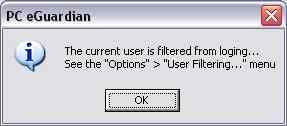 This is just to confirm that none of your information is being recorded. c. Application Filtering PC eGuardian also allows application filtering. This means you reduce the information stored in the log by specifying which applications you are interested in recording. To add an application filter user click on the "Options" > "Application Filtering..." menu option, as you will now see: 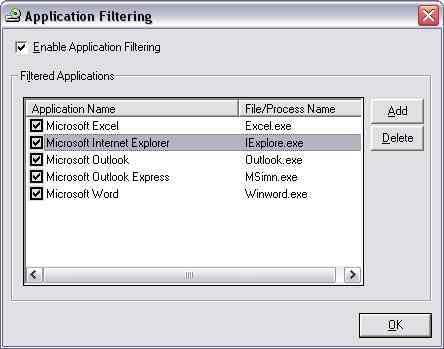 Check the "Enable Application Filtering" check box and use the "Add" and "Delete" buttons to specify which applications you wish to record. Note, if when adding a new filter you you are unsure of the "File/Process Name" then uncheck the "Enable Application Filtering" option and use this application. Now, view the log file for an instances of the application you are interested in and you will see something similiar to "Application: notepad.exe". The "File/Process Name" you require is show in bold (in this case use "notepad.exe"). 3. Web Site Permissions PC eGuardian gives you complete control over which web sites your loved ones can visit. By simply clicking on the "Web Site Permissions..." menu you can have complete control over all internet access. To block a web site simply type in the web site's address or URL (and an optional comment) then click the "Add" button. The next time your loved ones try to access this site they will be blocked! 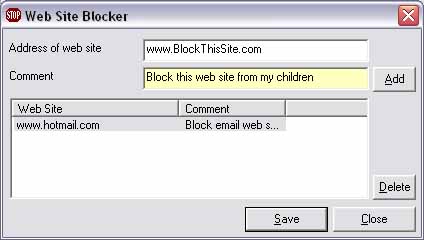 To block a site you must enter the web sites address in the following format: www.BlockThisWebSite.com (note, the blocker is NOT case sensitive) 4. Resetting your password If you forget the password, you can reset it by opening (double clicking) the "Uninstall.exe" file which you can find in the PC eGuardian installation directory (usually "C:\Program Files\PC eGuardian"). Then just click on the "Reset Password" button, as shown below: 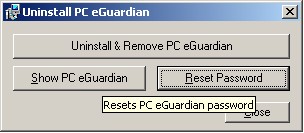 Copyright www.vbusers.com |